Gluten free baking basics in NZ revolve around replacing wheat flour with a scientifically balanced blend of rice, tapioca, and potato starches, fortified with binders like xanthan gum. Success relies on increasing hydration levels, resting batters to soften grittiness, and utilizing local pre-mixed blends designed for standard 1:1 substitution in classic Kiwi recipes.
For many New Zealanders transitioning to a coeliac or gluten-intolerant lifestyle, the kitchen can initially feel like a laboratory where experiments frequently fail. The loss of “Kiwi classics“—the Sunday morning pikelets, the cheese scones from the local cafe, or a simple wrap for lunch—is often felt more acutely than the loss of bread itself. However, mastering gluten free baking basics NZ is not about sacrificing texture; it is about understanding the chemistry of substitution.
This guide moves beyond simple recipe sharing to explain the why and how of gluten-free baking in a New Zealand context, ensuring your home-baked goods rival anything found in a traditional bakery.
Selecting the Right Flour Blend for Basics
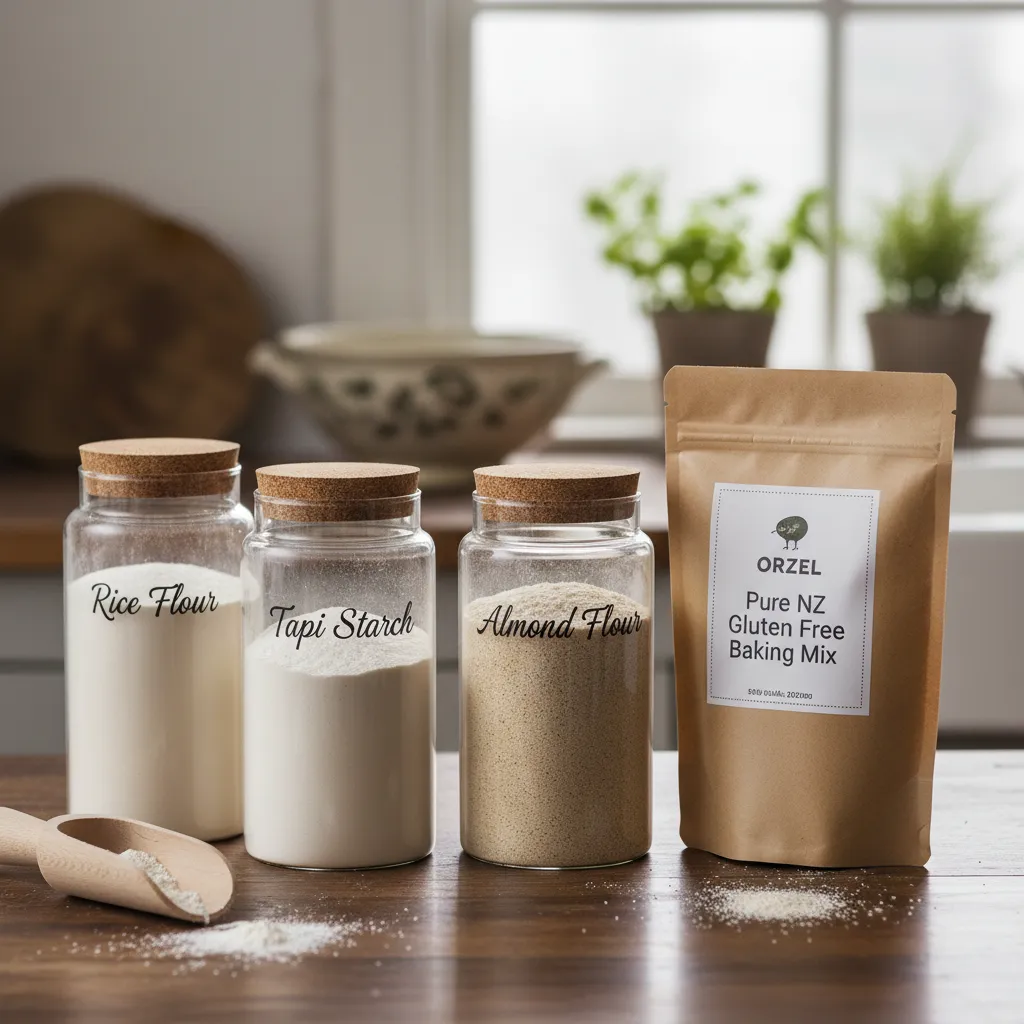
The single most common reason for baking failure in New Zealand kitchens is the incorrect selection of flour. Unlike wheat flour, which is a complete package of starch and protein (gluten), gluten-free flours are individual components that must be mixed to mimic wheat.
What is the difference between Baking Mix and Plain Flour?
In NZ supermarkets (Countdown, New World, Pak’nSave), you will typically encounter two main types of gluten-free flour products:
- High-Grade or Bread Mixes: These often contain higher protein content (sometimes from lupin or soy) and stronger binders. They are designed for yeast-based baking where structure is paramount.
- Standard Baking Blends (Edmonds, Bakels, Healtheries): These are usually a mix of maize starch, rice flour, and tapioca starch. They are designed for biscuits, cakes, scones, and pikelets.
For the basics covered in this guide (scones, pikelets, wraps), a standard “All Purpose” or “Plain” gluten-free baking blend is preferred. If you use a bread mix for scones, they may turn out rubbery.
The Role of Xanthan Gum
Check your flour blend’s ingredient list. If xanthan gum or guar gum is not listed, you must add it. For most NZ baking blends, the ratio is:
- Cakes and Scones: 1/4 teaspoon per cup of flour.
- Pastry and Wraps: 1/2 teaspoon per cup of flour.
Without this binder, your scones will crumble into sand the moment you bite into them. Most modern blends from Edmonds and Countdown’s “Free From” range now include this, but always verify.
The Famous Edmonds-Style Scone Made GF
There is nothing more quintessentially Kiwi than a cheese scone or a date scone served warm with butter. The “Edmonds Cookery Book” standard recipe relies heavily on gluten for lift. To replicate this gluten-free, we must alter the technique slightly to accommodate the lack of elasticity.
Why do gluten-free scones turn out hard?
Gluten-free flour absorbs more liquid than wheat flour, but it takes longer to do so. If your dough feels dry immediately after mixing, the resulting scone will be rock hard. The secret to the perfect GF scone is a “wet” dough and high heat.

The Lemonade Trick (GF Adaptation)
The 3-ingredient lemonade scone is famous in NZ, and it happens to be one of the best methods for gluten-free baking because the carbonation provides extra lift.
The Core Strategy:
- Cold Ingredients: Keep your butter ice-cold. Grating the butter into the flour mixture is superior to rubbing it in, as it keeps the fat distinct, creating flaky layers.
- Hydration: Increase the liquid by approximately 10-15% compared to a standard wheat recipe. If a recipe calls for 1 cup of milk, use 1 cup plus 2 tablespoons.
- Minimal Handling: Wheat scones get tough if overworked. Gluten-free scones get dense if overworked because you press the air out. Mix with a knife until just combined.
- The Rest: Let the dough sit for 10 minutes before cutting. This allows the rice flour to hydrate fully, eliminating the gritty texture.
Oven Management
Bake high and fast. Preheat your oven to 220°C (200°C fan-bake). The thermal shock helps the baking powder activate rapidly, pushing the scone up before the structure sets. Place scones close together on the tray; as they rise, they will support each other, forcing vertical growth rather than spreading outwards.
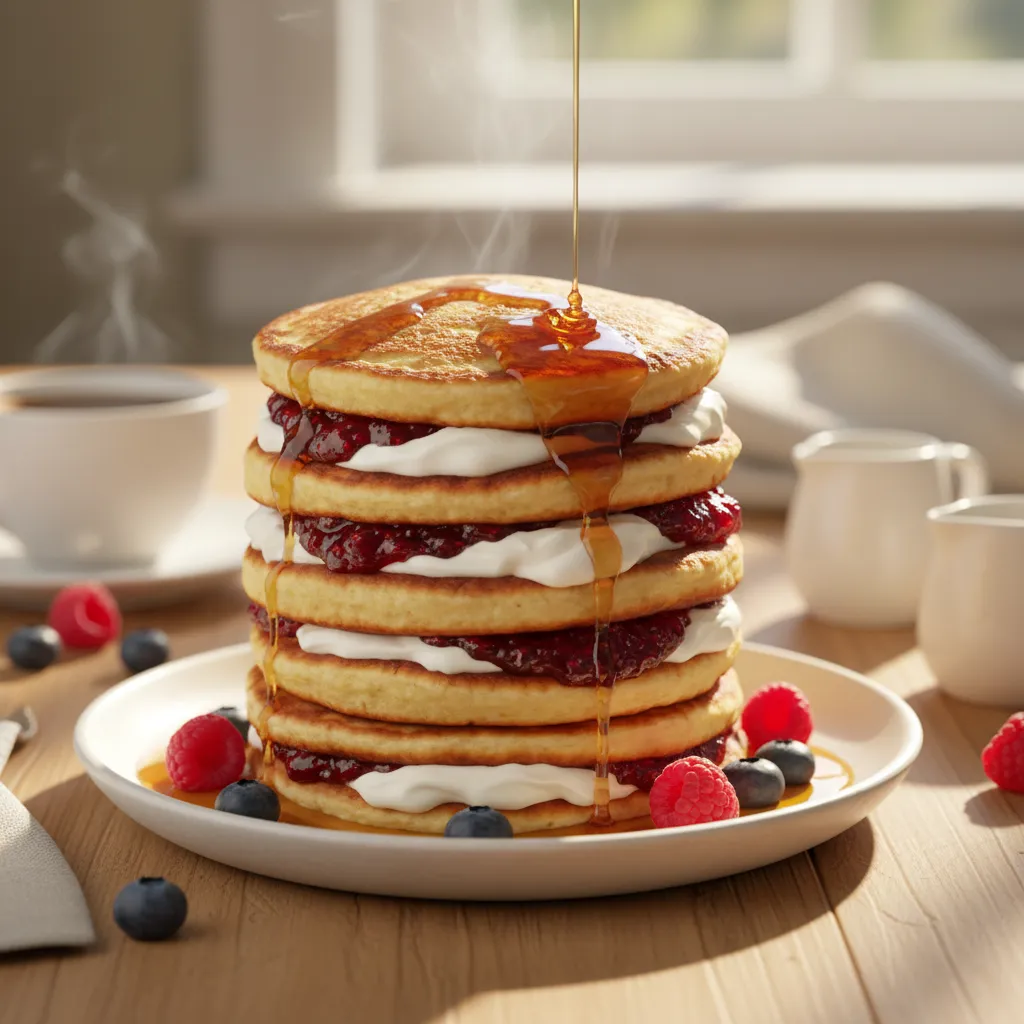
Fluffy GF Pikelets for Breakfast
Pikelets are the entry-level bake for many Kiwi kids, but gluten-free versions often end up gummy in the middle or burnt on the outside. The goal is a pikelet that is golden brown, fluffy, and absorbs melted butter readily.
Adjusting the Batter Consistency
A standard wheat pikelet batter is of dropping consistency. A gluten-free batter must be slightly thicker initially because it thins out as it sits. However, if it is too thick, the inside won’t cook before the outside burns.
Key Technique: Acid helps lift.
Add a teaspoon of white vinegar or lemon juice to your milk and let it sit for 5 minutes (making buttermilk) before mixing it into the dry ingredients. The acidity reacts vigorously with baking soda (if using) or baking powder, creating micro-bubbles that mimic the lightness of gluten.
Cooking Temperature Control
Gluten-free flour blends, particularly those high in rice flour, brown faster than wheat flour due to the sugar content often added to blends to aid browning. Low and slow is the rule here.
- Heat your non-stick pan to medium-low.
- Grease lightly with butter (not oil, for flavor).
- Drop tablespoons of batter.
- Wait for the bubbles: Do not flip until bubbles appear on the surface and pop, leaving open holes. In GF baking, this takes slightly longer than wheat baking.
- Flip and cook for only 1 minute on the other side.
Storage Tip: GF pikelets stale faster than wheat ones. Freeze them immediately after cooling and pop them in the toaster to reheat. They will taste freshly baked.
Homemade GF Wraps That Don’t Crack
This is the holy grail of the gluten-free lifestyle. Store-bought gluten-free wraps in New Zealand are notorious for cracking, splitting, and tasting like cardboard. Making them at home is cheaper and yields a pliable result, but it requires a specific ingredient: Psyllium Husk or Boiled Water.
Method A: The Psyllium Gel Method
Psyllium husk acts as the gluten replacement here. It forms a gel that binds water, keeping the dough flexible.
The Ratio: Use approximately 1 tablespoon of whole psyllium husk (or powder) per cup of flour. Mix the husk with warm water and let it gel for 5 minutes before adding to your flour mix. This creates a dough you can actually knead and roll without it falling apart.
Method B: The Boiling Water Method (Yukone)
If you don’t have psyllium, the boiling water method is your savior. This gelatinizes the starches in the flour (specifically tapioca and rice), making them stretchy.
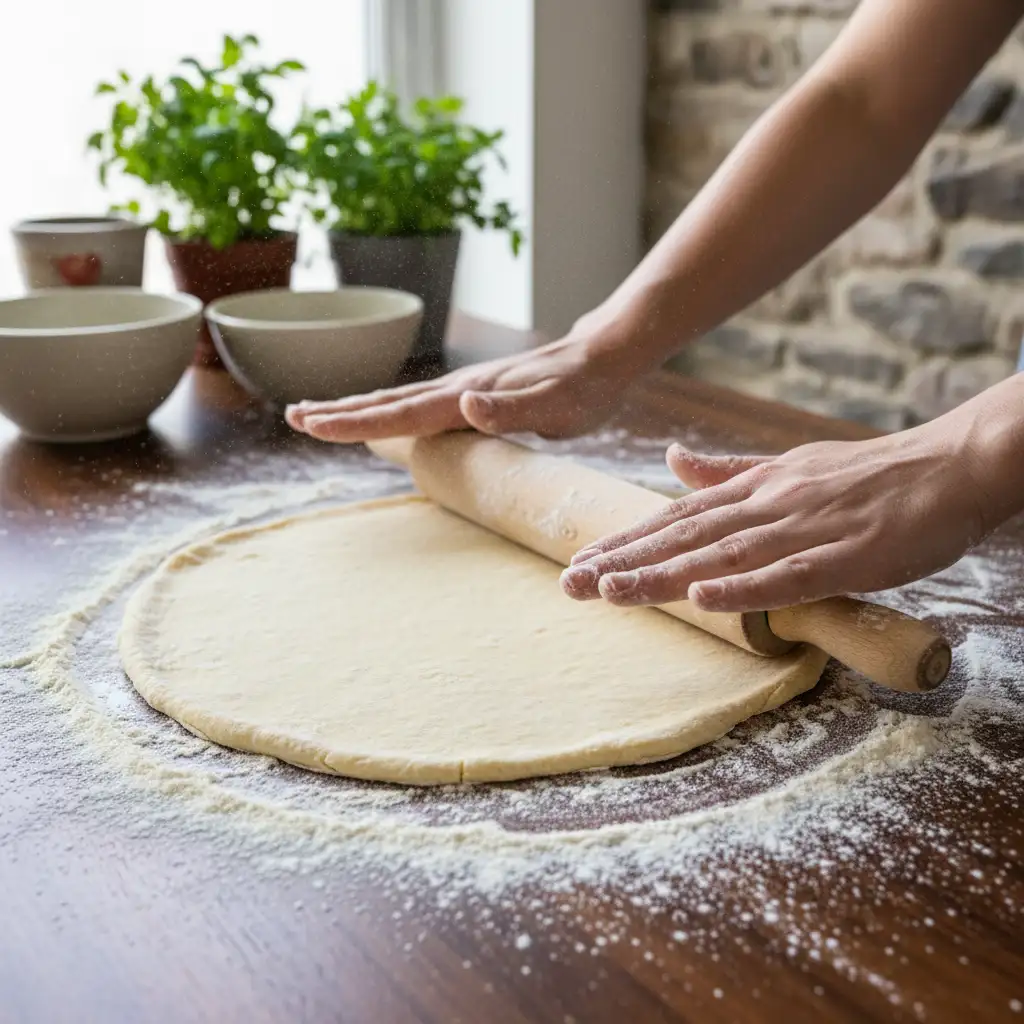
Step-by-Step for Pliable Wraps:
- Mix your GF flour blend with a pinch of salt.
- Pour boiling water (straight from the jug) into the flour.
- Mix with a spoon until cool enough to handle, then knead vigorously. The heat changes the structure of the starch.
- Roll extremely thin between two sheets of baking paper.
- Cook on a scorching hot cast-iron skillet (dry, no oil) for 30-45 seconds per side.
How to keep them soft?
The moment a wrap comes off the pan, place it on a plate and cover it immediately with a clean, slightly damp tea towel. The steam trapped inside softens the wrap, ensuring it can be rolled for lunch without cracking.
The Science of Hydration and Binders
Understanding the underlying mechanics of gluten-free baking helps you troubleshoot any NZ recipe you attempt to convert.
Hydration is Key
Gluten-free flours are thirsty. Rice flour, in particular, has a gritty mouthfeel if not fully hydrated. When converting a standard recipe:
- Liquids: Always be prepared to add 10-20% more liquid than the recipe states.
- Fats: Gluten-free goods dry out quickly. Adding a tablespoon of sour cream, yoghurt, or extra oil to the batter helps retain moisture for longer.
Weighing vs. Cups
While New Zealand recipes traditionally use cups (250ml metric cup), gluten-free baking demands precision. Different GF blends have different densities. Potato starch is heavy; tapioca starch is light. For consistent results, invest in a digital scale. 1 cup of GF flour can weigh anywhere from 120g to 160g depending on how you scoop it. Always aim for 135g-140g per cup as a standard conversion if a weight isn’t provided.
Frequently Asked Questions
What is the best gluten free flour for baking in NZ?
For general baking (cakes, biscuits, muffins), Edmonds Gluten Free Plain Flour and Bakels Gluten Free Baking Mix are highly rated for their consistency. For breads, the Bakels Gold Label Gluten Free Bread Mix is widely considered the industry standard in NZ for home bakers due to its structural integrity.
Why do my gluten free scones crumble?
Scones usually crumble because the dough was too dry or lacked a binder. Ensure your flour blend contains xanthan gum. If it does, try adding an extra tablespoon of milk or a dollop of yoghurt to the dough to increase hydration, and avoid over-baking them.
Can I use standard baking powder for gluten free baking?
Most baking powder in New Zealand is now gluten-free (using rice flour or corn starch as the carrier), but not all. Edmonds baking powder is gluten-free, but you must always check the label for wheat starch warnings. Always store it separately to avoid cross-contamination.
How do you make gluten free wraps that don’t break?
The secret is high moisture and heat. Use boiling water to gelatinize the starches (making the dough stretchy) or add psyllium husk as a binder. Once cooked, immediately stack them under a warm, damp tea towel to steam them soft. Cold wraps tend to crack, so reheat slightly before rolling.
Is yeast gluten free in NZ?
Yes, fresh and dried yeast available in NZ supermarkets (like Edmonds Surebake or Tasti) is naturally gluten-free. However, be careful with “Surebake” varieties designed for bread machines, as they sometimes contain dough improvers derived from wheat. Always read the allergen statement.
What is a substitute for xanthan gum in NZ?
If you cannot tolerate xanthan gum, Guar Gum is the most common alternative available in NZ health food stores. Psyllium husk is also an excellent natural binder, particularly for breads and pizza bases, while chia seeds soaked in water (chia egg) work well for cookies and muffins.